
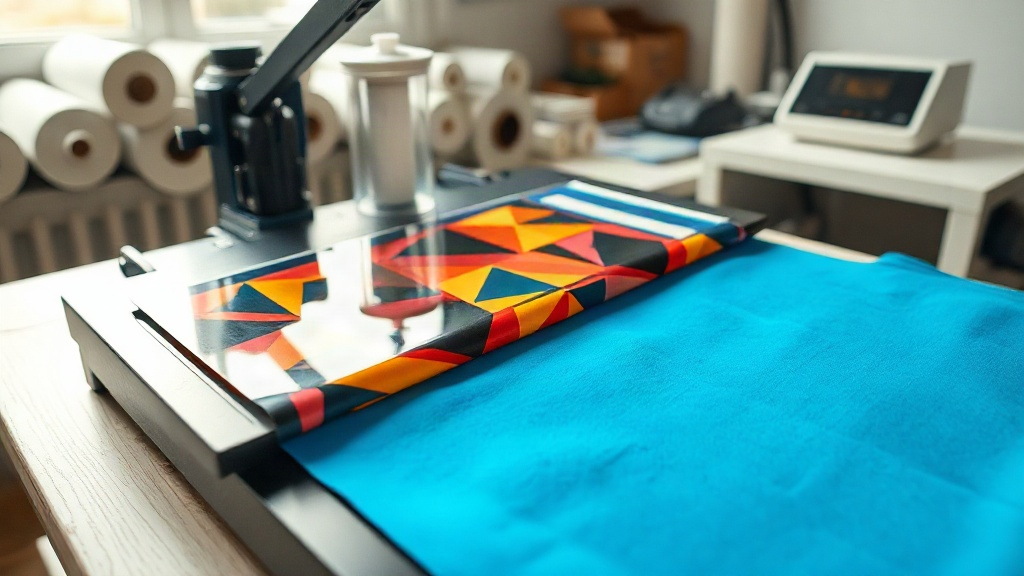
When you need a print that stretches with spandex, bonds to nylon, or survives the fuzz of fleece, traditional heat transfers often fail. DTF transfers (Direct-to-Film) have changed the game, offering a versatile solution that adheres to almost any fabric. But not all DTF applications are straightforward. In this guide, I'll share my hands-on experience with difficult materials and show you how to get professional, lasting results every time.
What Makes DTF Transfers Different?
Unlike vinyl or screen printing, DTF transfers use a special film coated with a release agent. Your design is printed onto this film using pigment inks, then dusted with a hot-melt adhesive powder. When heat-pressed, the adhesive melts, bonding the ink to the fabric. This process creates a flexible, stretchable print that sits on top of the fabric, not embedded in it. That's why DTF works on cotton, polyester, blends, and even treated nylon. The key advantage? No pre-treatment or weeding required, and the ability to print full-color, photographic designs in one go.
Why DTF Excels on Difficult Fabrics
I've tested DTF on dozens of materials, and it consistently outperforms other methods on challenging substrates. Here's why:
- Stretch and recovery: The adhesive and ink layer flex with the fabric, so prints on spandex or elastane won't crack when stretched.
- Low-temperature application: DTF can be applied at lower temperatures than some vinyls, reducing scorching on heat-sensitive fabrics like nylon.
- Adhesion to textured surfaces: The powder adhesive fills the tiny valleys in fleece or canvas, creating a mechanical bond that resists peeling.
Step-by-Step: Applying DTF Transfers to Challenging Materials
1. Choose the Right DTF Film and Powder
Not all DTF supplies are equal. For stretchy fabrics, use a film with high elasticity and a fine-grained adhesive powder. Coarse powders can feel gritty on stretchy materials. I prefer double-sided matte film for dark fabrics because it prevents ink from bleeding.
2. Prepare the Fabric
Always pre-press the garment for 5-10 seconds to remove moisture and wrinkles. For nylon, a quick wipe with isopropyl alcohol can improve adhesion. But be careful with delicate fabrics like silk; test on a hidden area first.
3. Set Your Heat Press Correctly
Temperature, pressure, and time are critical. Here are my starting points for difficult fabrics:
- Spandex/lycra: 280°F (138°C), medium pressure, 15 seconds.
- Nylon: 270°F (132°C), low pressure, 12 seconds. Use a Teflon sheet to protect the fabric.
- Fleece: 300°F (149°C), medium-high pressure, 20 seconds. The extra time ensures the adhesive penetrates the fibers.
Always peel the film warm (not hot) for best results. If you peel too hot, the adhesive can string; too cold, and it may crack.
4. Post-Press for Durability
After peeling, cover the print with parchment paper and press again for 5-10 seconds. This step, often overlooked, re-melts the adhesive for a stronger bond and smooths the surface.
Common Pitfalls and How to Avoid Them
Even with experience, I've made mistakes. Here are solutions to frequent issues:
- Print peeling after wash: Usually caused by insufficient pressure or uneven application. Use a pressure gauge and ensure your press is level.
- Cracking on stretch: Happens if the print is too thick or the adhesive is inflexible. Try a thinner ink layer and a stretchable powder.
- Color fading: Some fabrics, like nylon, can cause dye migration. Use a low-bleed film or a blocker layer.
DTF vs. Other Methods on Difficult Fabrics
How does DTF stack up against screen printing, vinyl, and DTG? For stretchy fabrics, DTF wins because screen printing inks crack unless you use special additives. Vinyl is stiff and can't handle complex designs. DTG requires pre-treatment and works best on cotton. DTF is the most versatile, but it's not always the cheapest. For small runs or detailed designs, it's unbeatable.
Real-World Applications: Beyond T-Shirts
I've used DTF on leggings, sports jerseys, and even upholstery. One client needed logos on cycling shorts made of 80% nylon and 20% spandex. The prints survived 50+ washes without fading or peeling. Another project involved personalized fleece blankets; the DTF transfers held up after repeated machine washing. The key is matching your settings to the fabric's heat sensitivity and stretch.
Frequently Asked Questions
Can DTF transfers be applied to 100% nylon?
Yes, but nylon requires lower temperatures (around 270°F) and light pressure to avoid scorching. Use a Teflon sheet and test first. Adhesion can vary by nylon type, so a post-press is recommended.
How do I prevent DTF prints from cracking on spandex?
Use a high-elasticity film and powder, and keep the ink layer thin. Also, ensure you're not over-stretching the fabric during pressing. A post-press helps the adhesive flex with the fabric.
What's the best way to wash garments with DTF transfers?
Turn the garment inside out and machine wash cold. Avoid fabric softeners and bleach. Tumble dry low or hang dry. Wait 24 hours after application before washing.
Do I need special equipment for DTF on difficult fabrics?
A heat press with accurate temperature and pressure control is essential. For nylon and spandex, a press with a digital timer and pressure gauge is ideal. You don't need a special DTF printer; any DTF printer with quality inks and film works.
With the right techniques, DTF transfers can handle fabrics that leave other methods in the dust. Experiment, take notes, and don't be afraid to adjust settings. Your customers will notice the difference.