
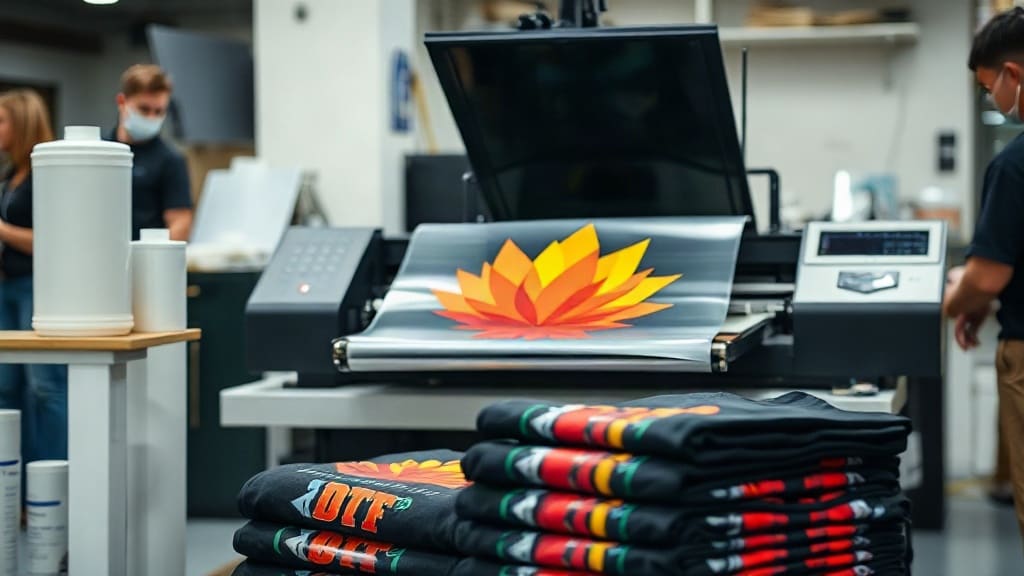
Direct-to-film printing, commonly known as DTF, has taken the custom apparel industry by storm. Unlike traditional methods that require screens or complex setups, DTF offers a simpler, more versatile way to produce high-quality transfers. Whether you're a small business owner, a hobbyist, or an established printer, understanding this technology can open up new possibilities for your projects.
In this guide, we'll break down what DTF is, how it works, what you need to get started, and how to get the best results. We'll also compare it to other popular methods and answer some common questions.
What Is DTF Printing?
DTF stands for Direct-to-Film. It's a printing method where a design is printed onto a special PET film using a modified inkjet printer, then transferred to a substrate (usually fabric) using a heat press. The process involves printing with CMYK colors plus white ink, applying an adhesive powder to the wet ink, and curing it before pressing.
The result is a vibrant, durable transfer that can be applied to a wide range of materials, including cotton, polyester, blends, and even leather. This versatility makes DTF a popular choice for custom t-shirts, hoodies, tote bags, and more.
How Does DTF Work?
To understand why DTF is so effective, let's look at the step-by-step process:
- Design: Create or edit your artwork on a computer. The design should be mirrored for transfer.
- Printing: Print the design onto a PET film using a special DTF printer. The printer lays down white ink first (as an underbase), then CMYK colors on top.
- Adhesive powder: While the ink is still wet, apply a hot-melt adhesive powder to the printed film. This powder sticks to the ink and later bonds with the fabric.
- Curing: Heat the film to cure (melt) the powder, ensuring it bonds properly to the ink. This is typically done with a curing oven or a heat press.
- Transfer: Place the film on your garment with the design facing down. Apply heat and pressure using a heat press for a specific time and temperature.
- Peel: Allow the transfer to cool slightly, then peel off the film. The design remains on the fabric.
The entire process is relatively quick, and because the design is printed on film, you can produce multiple prints easily without the need for screens.
Advantages of DTF Printing
Why are so many businesses switching to DTF? Here are some of the key benefits:
- Versatility: DTF works on a wide range of fabrics, including cotton, polyester, nylon, and blends. It also works on other materials like leather and denim.
- No screen setup: Unlike screen printing, there's no need to create screens for each color. This makes DTF ideal for full-color designs and quick turnarounds.
- Cost-effective for small runs: Since there's no setup cost, you can print one-off items or small batches economically.
- Soft hand feel: DTF transfers have a softer feel compared to some other methods, especially when using thinner films and proper pressing techniques.
- Durability: When done correctly, DTF prints can withstand repeated washing and stretching without cracking or fading.
- Ease of use: With a relatively simple process, DTF is accessible to beginners and professionals alike.
DTF vs. Other Printing Methods
To appreciate DTF's advantages, it helps to compare it with other popular methods:
DTF vs. Screen Printing
Screen printing is excellent for large batches with simple designs and limited colors. However, it requires significant setup time and cost per color. DTF offers a more efficient solution for full-color designs and smaller orders, with no setup fees. While screen printing may have a slight edge in durability for heavy-duty applications, DTF holds up quite well for most uses.
DTF vs. DTG (Direct-to-Garment)
DTG prints directly onto the fabric using inkjet technology. It's great for cotton garments and highly detailed designs. However, DTG requires a pretreatment solution for many fabrics, and it can be slower for large orders. DTF can be applied to more fabric types, including polyester, without pretreatment. Additionally, DTF transfers can be stored and applied later, making it a more flexible option for production.
DTF vs. Vinyl Heat Transfer
Vinyl heat transfer involves cutting adhesive vinyl and pressing it onto the garment. It's popular for simple designs with solid colors, but it's not suitable for detailed or full-color artwork. DTF allows for photorealistic prints with gradients and complex colors, making it a superior choice for intricate designs.
Essential Equipment for DTF Printing
To start with DTF, you'll need several pieces of equipment. Here's a rundown of what's required:
- DTF Printer: This is a modified inkjet printer that can handle white ink. Options range from consumer-level Epson printers with conversion kits to industrial models designed for higher volume.
- PET Films: These are the special films that receive the printed design. They come in different thicknesses and coatings, so choose one that works with your printer.
- Adhesive Powder: Also known as hot-melt powder, this is applied to the wet ink to create the bonding agent.
- Curing Oven or Heat Press: You'll need a way to cure the adhesive powder after application. A curing oven is ideal for continuous production, but a heat press can work for small runs.
- Heat Press: This is used for the final transfer onto the garment. A clamshell or swing-away press with accurate temperature control is recommended.
- Software: You'll need design software (like Adobe Illustrator) and a RIP (Raster Image Processor) software to manage color printing and printer settings.
Investing in quality equipment from the start will save you headaches later. Look for reputable brands and consider the after-sales support.
Step-by-Step DTF Printing Process
Now, let's dive deeper into the actual process:
1. Design Preparation
Start with a high-resolution design (at least 300 DPI). Ensure that any text is outlined or converted to paths to avoid font issues. Mirror the design horizontally so it transfers correctly.
2. Printing
Load the PET film into the printer with the glossy side up (or as per the manufacturer's recommendation). Print the white ink layer first, followed by CMYK colors. The white ink serves as an underbase, especially on dark fabrics.
Ensure that your printer is calibrated for proper ink density and that the film is correctly positioned.
3. Applying Adhesive Powder
While the ink is still wet, evenly sprinkle the adhesive powder over the printed area. Use a sieve or shaker to distribute it evenly. For best results, apply enough to cover the design completely but not so much that it piles up.
4. Curing
Place the film in a curing oven set to about 160-170°C (320-338°F) for about 2-3 minutes. This melts the adhesive powder, fusing it to the ink. If you're using a heat press, set it to a similar temperature and press for about 20-30 seconds with moderate pressure.
5. Pressing
Preheat your garment for a few seconds to remove moisture and wrinkles. Position the film on the garment with the design facing down. Apply heat and pressure according to the film's specifications, typically around 160°C (320°F) for 15-20 seconds at medium pressure.
Use a Teflon sheet or parchment paper to protect the film and garment.
6. Peeling
After pressing, let the transfer cool for a few seconds (usually 10-20 seconds), then peel the film off. Some people prefer hot peeling (immediately after pressing) while others use cold peeling. Check the film manufacturer's recommendations.
Peel slowly and evenly to avoid any lifting of the design.
Tips for High-Quality DTF Results
To achieve professional-looking prints, consider these expert tips:
- Use high-quality films and powders: Cheaper supplies might save money but can lead to issues like poor adhesion or cracking.
- Maintain your printer: Regularly clean the printheads to prevent clogging, especially with white ink, which tends to settle.
- Calibrate colors: Use a color profile to ensure accurate color reproduction.
- Test on scrap fabric: Always do a test print on a piece of similar fabric to fine-tune your settings.
- Press with even pressure: Uneven pressure can cause the design to have weak spots.
- Let the garment cool before handling: After peeling, allow the garment to cool completely before folding or wearing.
Common Mistakes to Avoid
Even experienced printers can encounter issues. Here are some pitfalls to watch out for:
- Skipping the cure: If the adhesive powder isn't fully cured, the transfer may not stick properly.
- Overheating: Excessive heat can cause the film to melt onto the fabric or the design to crack.
- Using incorrect film: Not all films are compatible with all printers. Always use the film recommended for your setup.
- Poor powder application: Too little powder leads to weak adhesion; too much can create a rough surface.
- Ignoring maintenance: Lack of cleaning can lead to banding and color issues.
Frequently Asked Questions
What fabrics are best for DTF transfers?
DTF works well on cotton, polyester, and blends. It also adheres to materials like nylon and leather, but you may need to adjust temperature and pressure. For stretchy fabrics, use a stretchable film and ensure the design is not too large to avoid cracking.
How durable are DTF prints?
With proper application, DTF prints can last for many washes without fading or cracking. They are generally as durable as screen prints. However, the longevity depends on the quality of materials and the pressing process. Follow the recommended care instructions, such as washing inside out in cold water.
Can I use DTF on dark shirts?
Yes, because DTF uses a white ink underbase, it is perfect for dark fabrics. The white layer ensures the colors pop and remain vivid.
Is DTF printing cost-effective for small businesses?
Absolutely. Since there are no screen setup costs, you can produce single items or short runs profitably. DTF also reduces waste because you only print what you need.
Do I need a special printer for DTF?
You can convert a standard inkjet printer (like an Epson EcoTank) using a DTF conversion kit that includes white ink handling. However, for consistent results, many invest in purpose-built DTF printers that come with advanced features like built-in curing units.
Conclusion
Direct-to-film printing is a game-changer in the custom apparel world. Its versatility, ease of use, and cost-effectiveness make it an attractive option for both newcomers and seasoned professionals. By understanding the process, investing in the right equipment, and following best practices, you can create stunning, durable prints that will delight your customers.
Whether you're starting a side hustle or expanding your printing business, DTF is definitely worth exploring. With practice and attention to detail, you'll soon master this technique and produce exceptional results.